Helifix BowTie
Helifix BowTie
Helifix BowTie
For restraining bowed walls
The Helifix BowTie is a long stainless steel tie used to stabilise bulging walls, without any external plates, by securing them into the ends of internal floor joists.
Send a product enquiryThe Helifix BowTie is a long stainless steel tie used to stabilise bulging walls, without any external plates, by securing them into the ends of internal floor joists.
The Helifix BowTie HD is a heavy duty 12mm diameter threaded bar with self-cutting end used to restrain bowing building walls by securing them to internal parallel floor joists or roof beams.
System Components
- Drill bit for clearance hole
- Helifix BowTies
- Power support tool
- HD Driver
- Hand support tool
- Helifix PolyPlus resin cartridge with extension nozzles and applicator
Applications
- For stabilising bowed external building walls by securing them to internal floor and ceiling joists
- Standard Helifix BowTies are recommended when installing into joist ends
- Helifix BowTie HDs are recommended when installing into joist sides
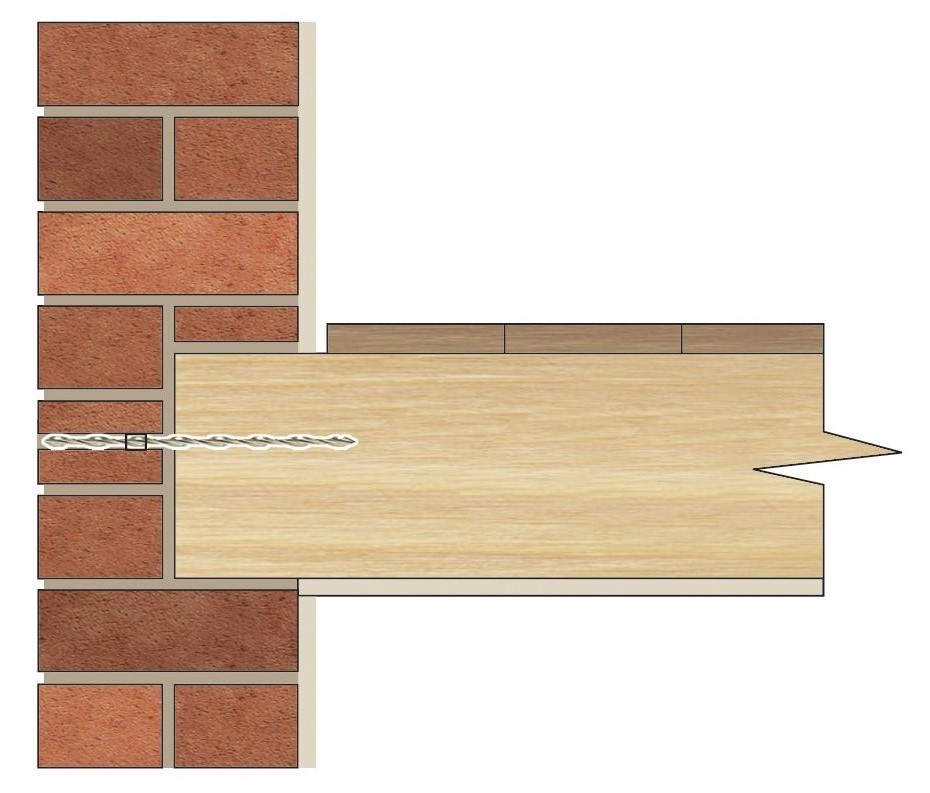
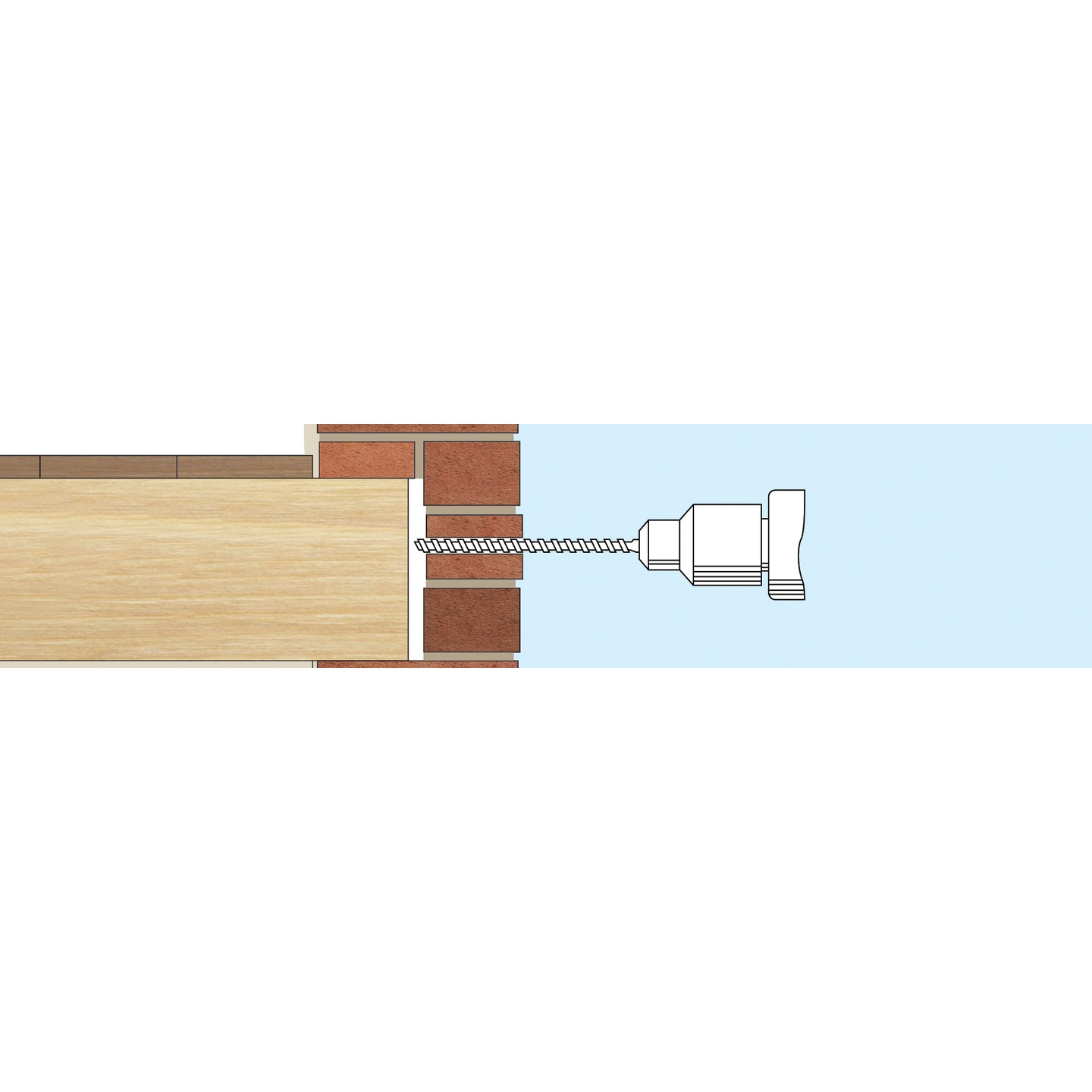
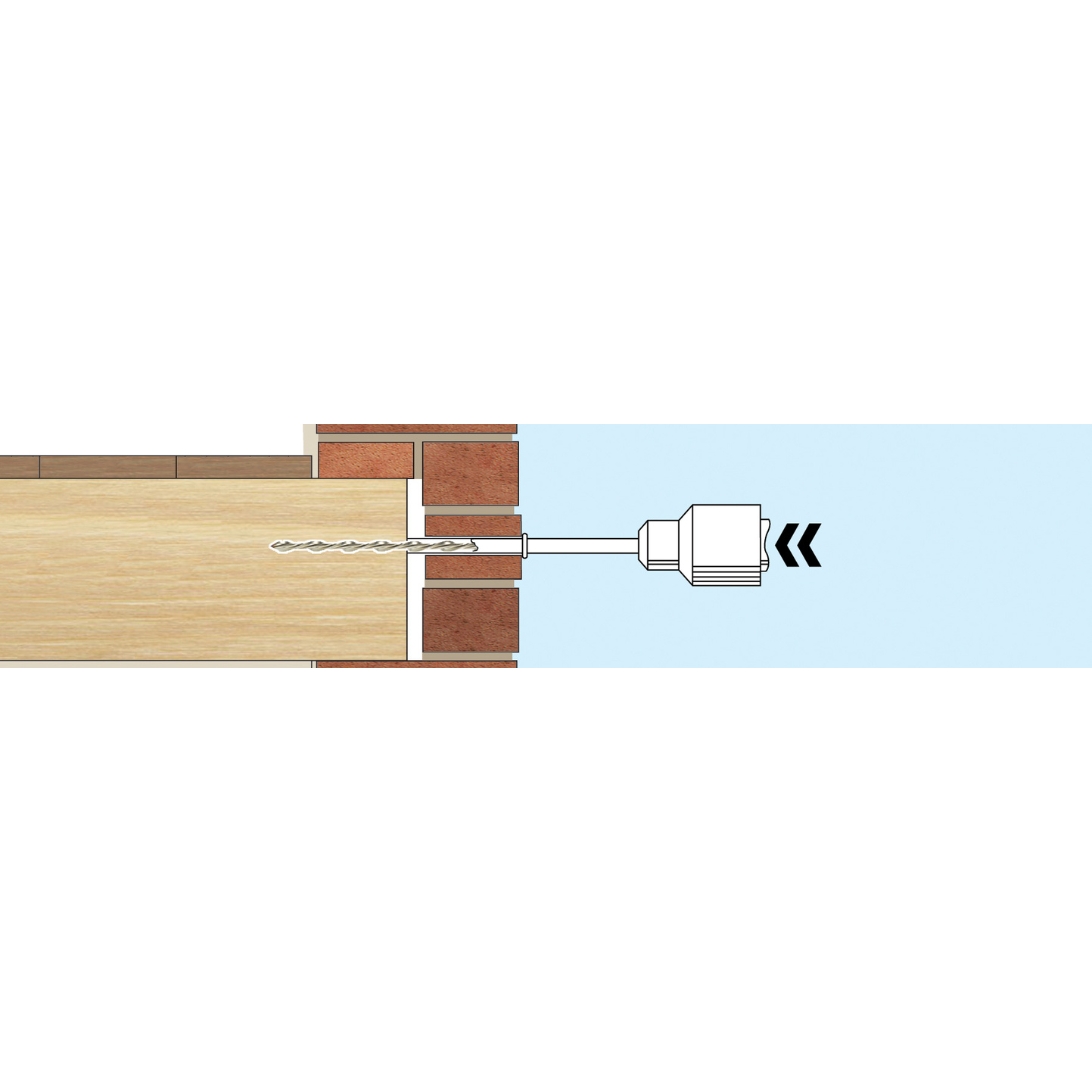
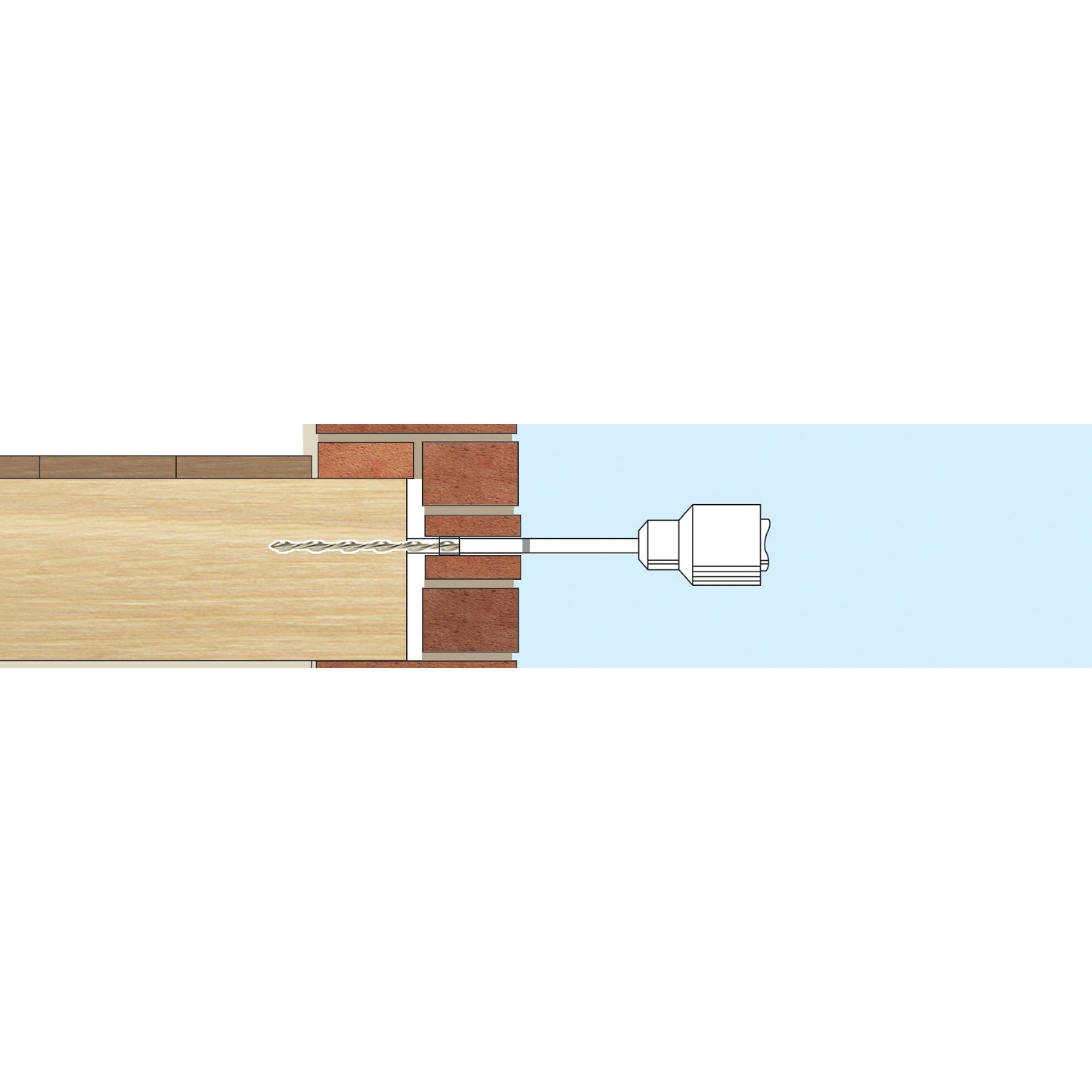
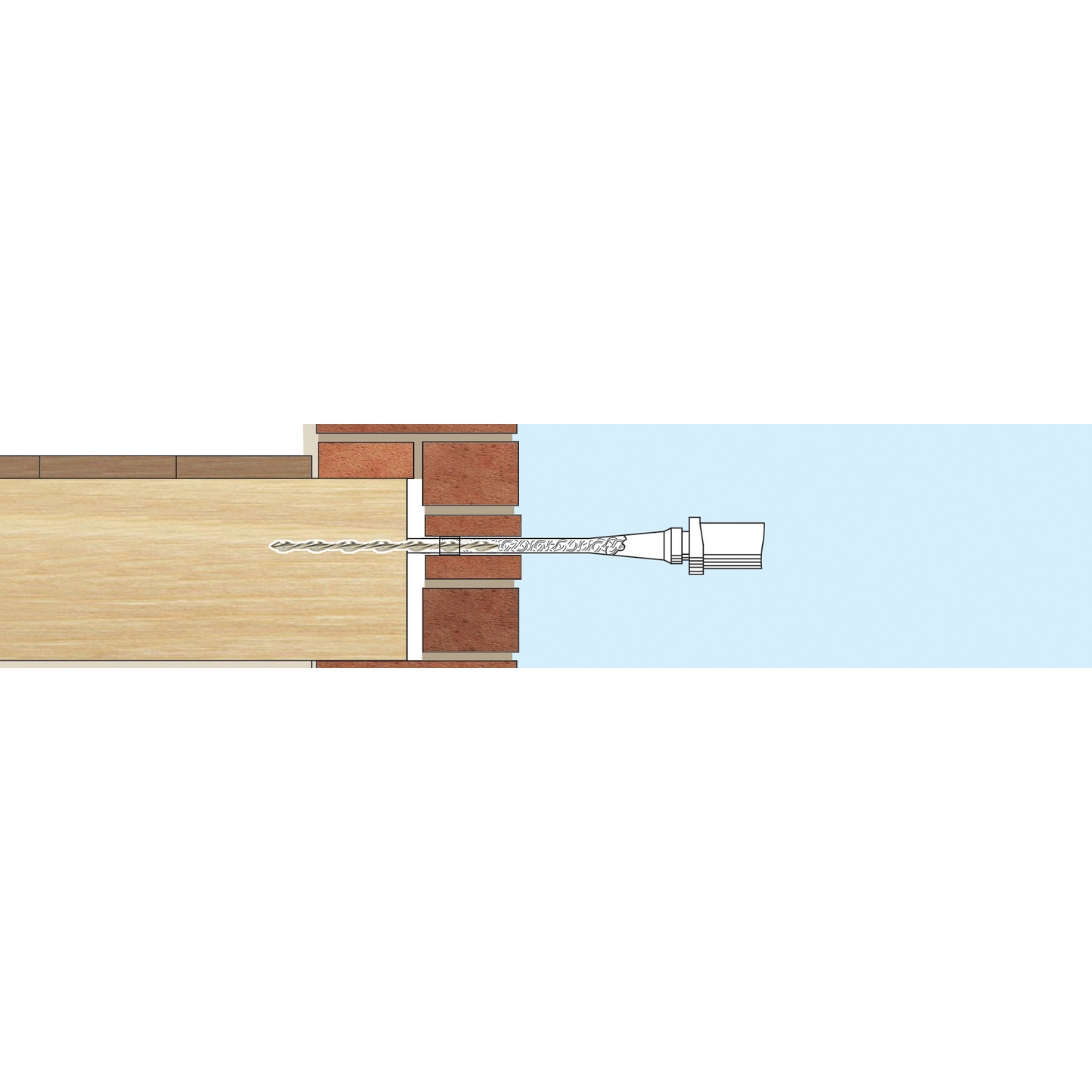
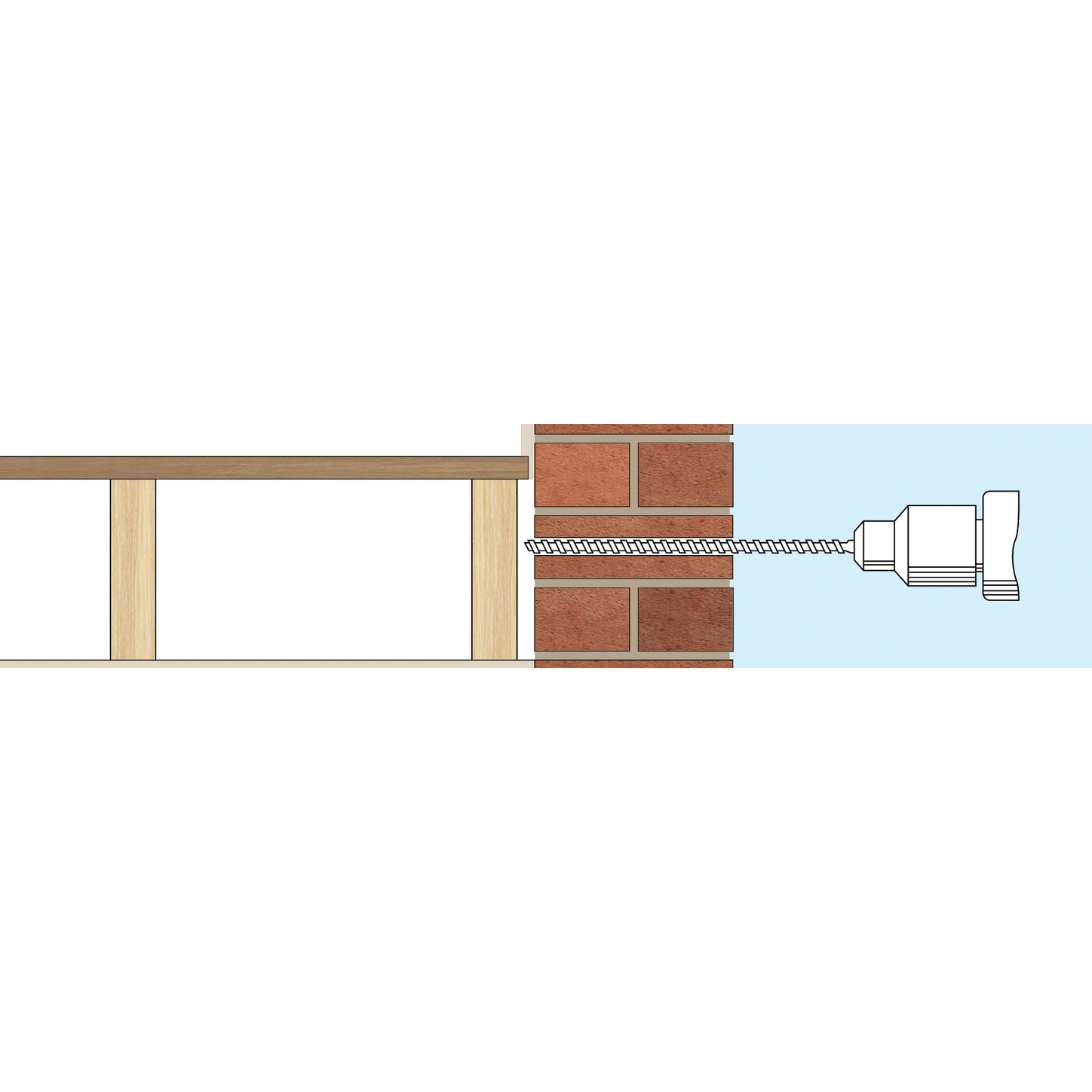
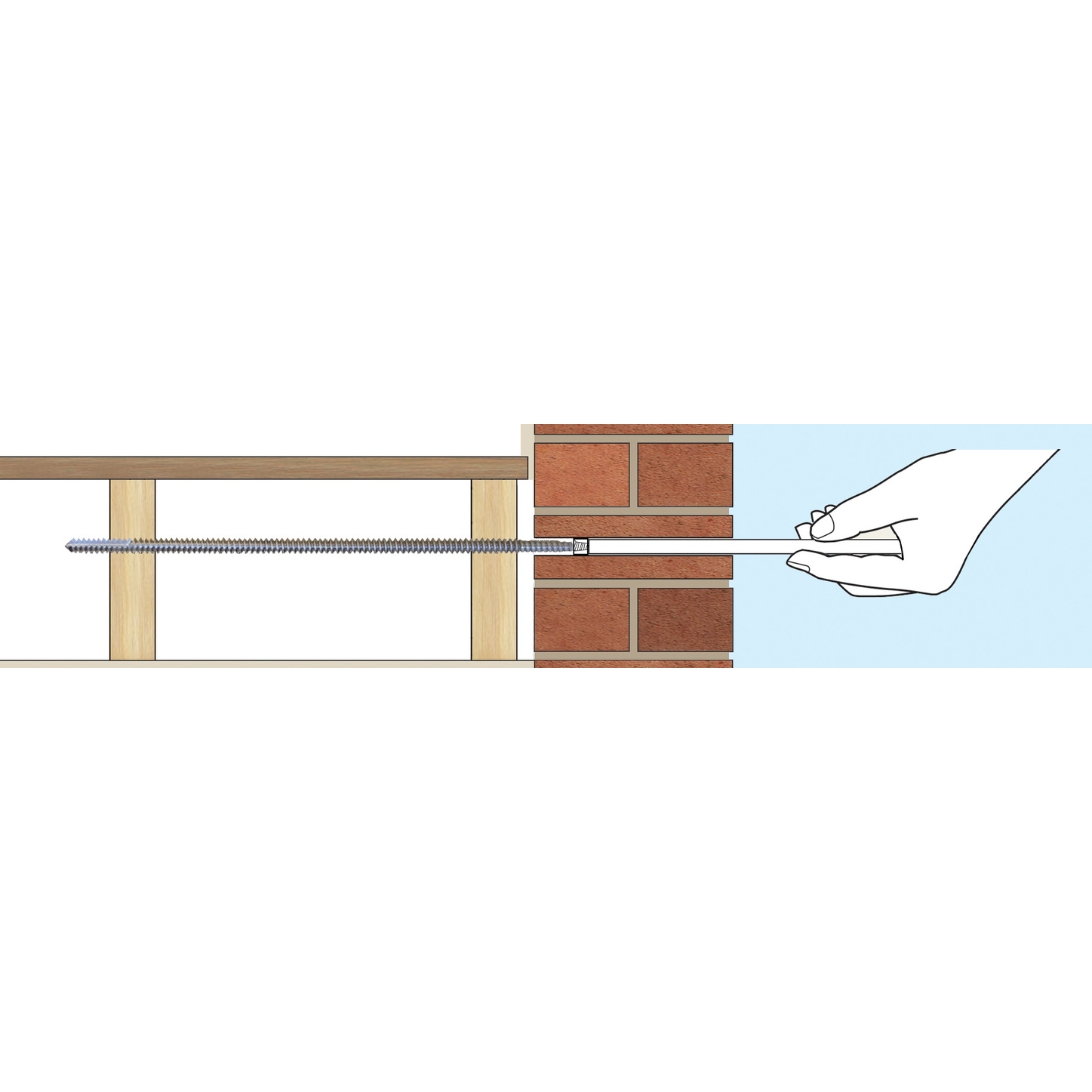
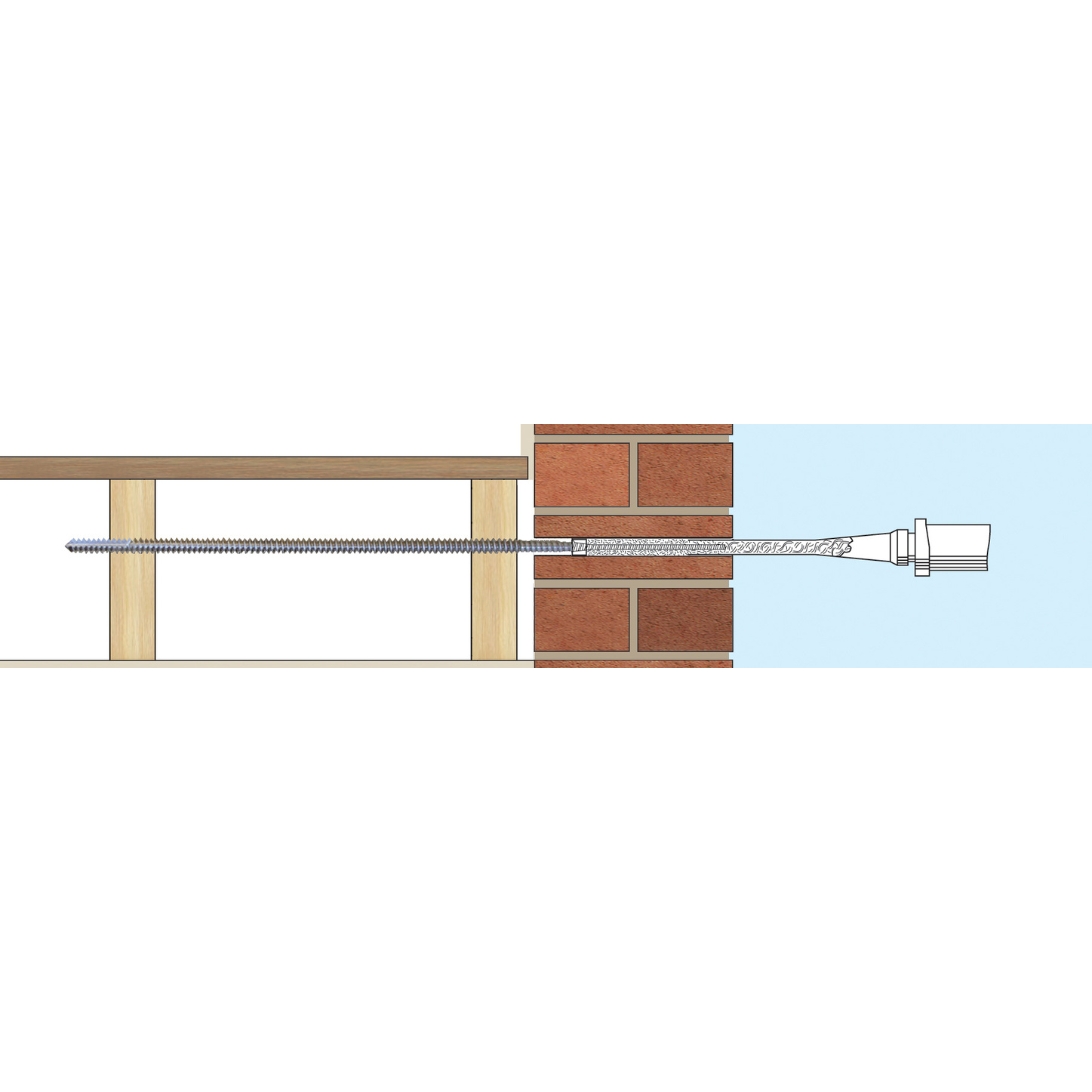
Helifix BowTie into joist end through a solid wall
Helifix BowTie Installation
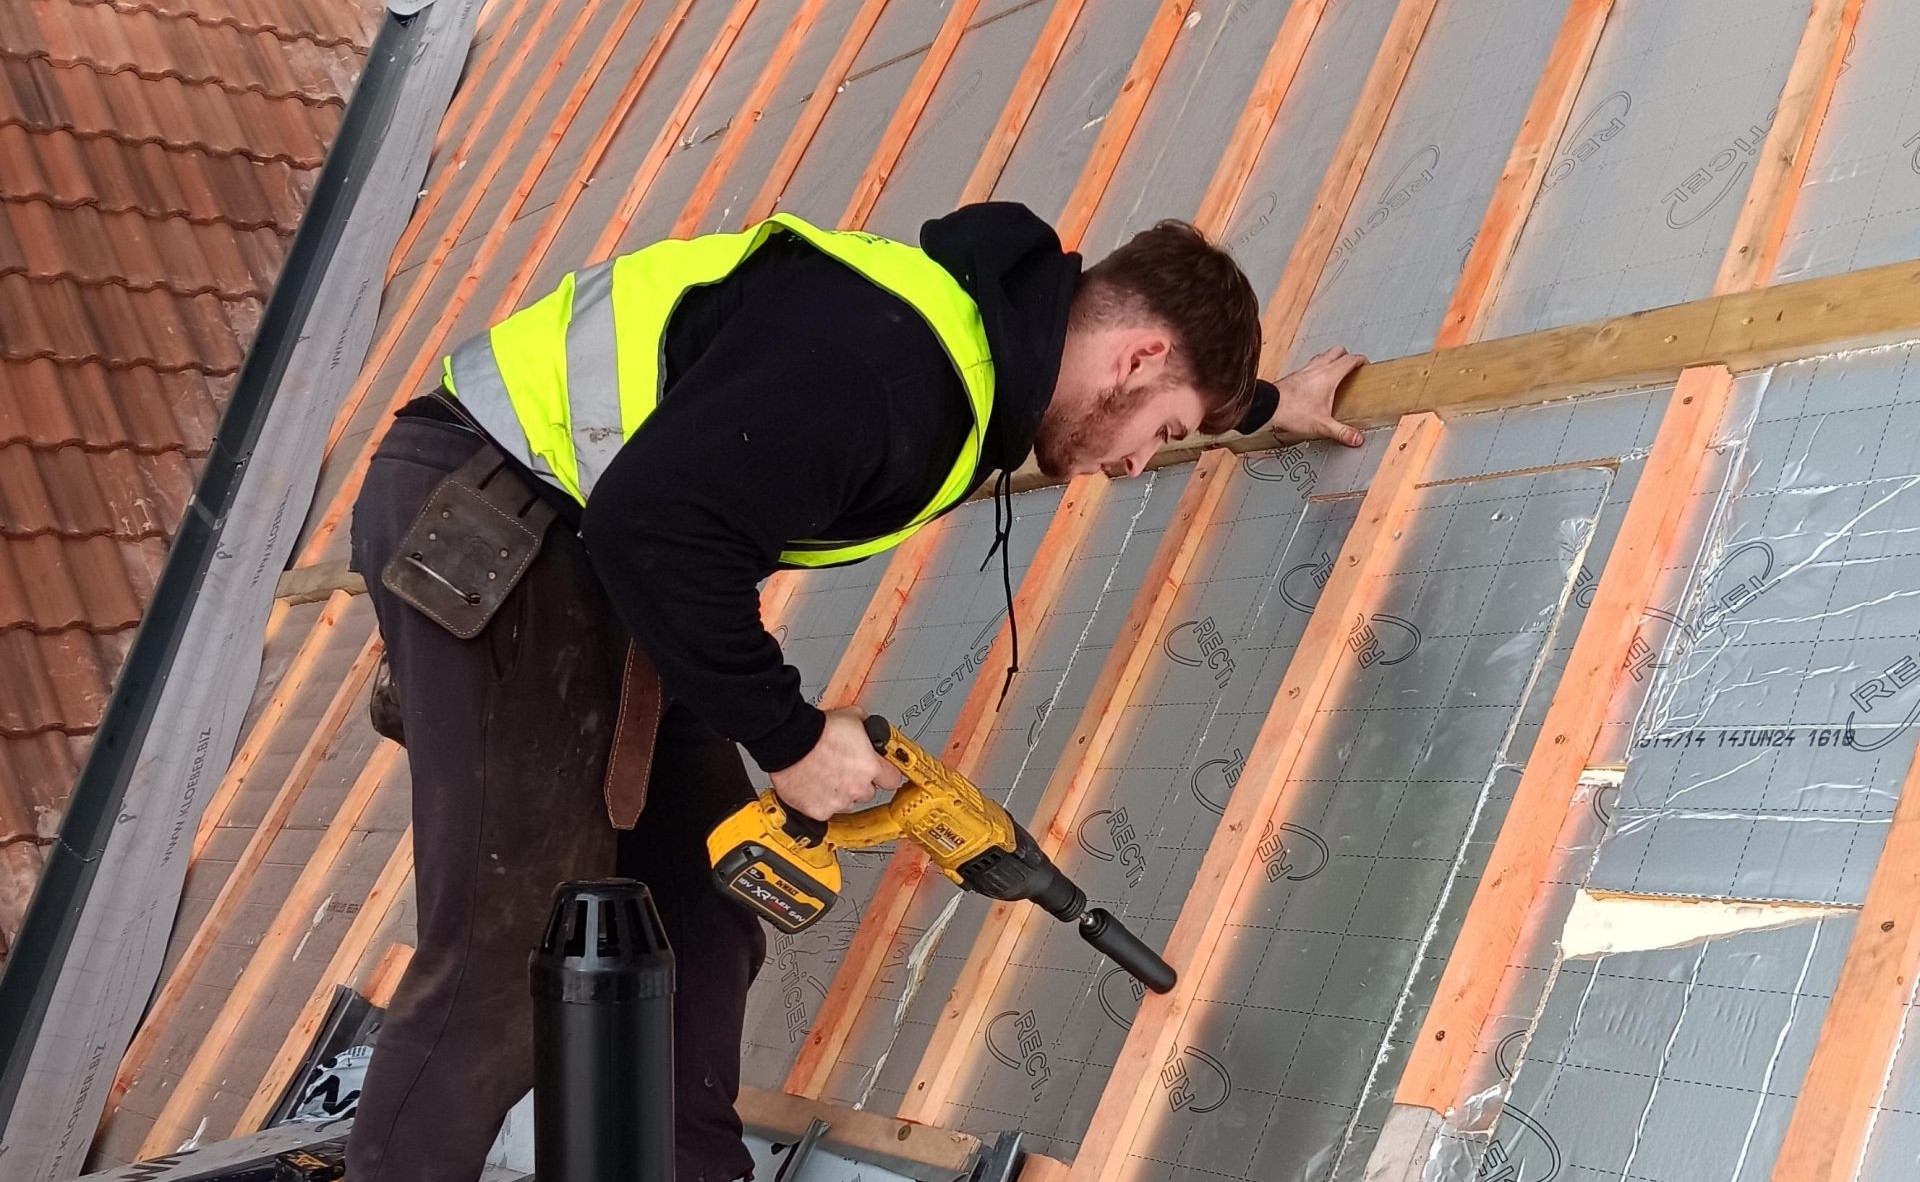
Helifix BowTie HD Installation
Product Enquiry
Mandatory Fields*
Find an Approved Installer
Helifix’s Approved Installers ensure customers can be confident that repairs are carried out using the latest techniques to obtain an efficient, reliable, cost-effective solution.
Find an approved installer
